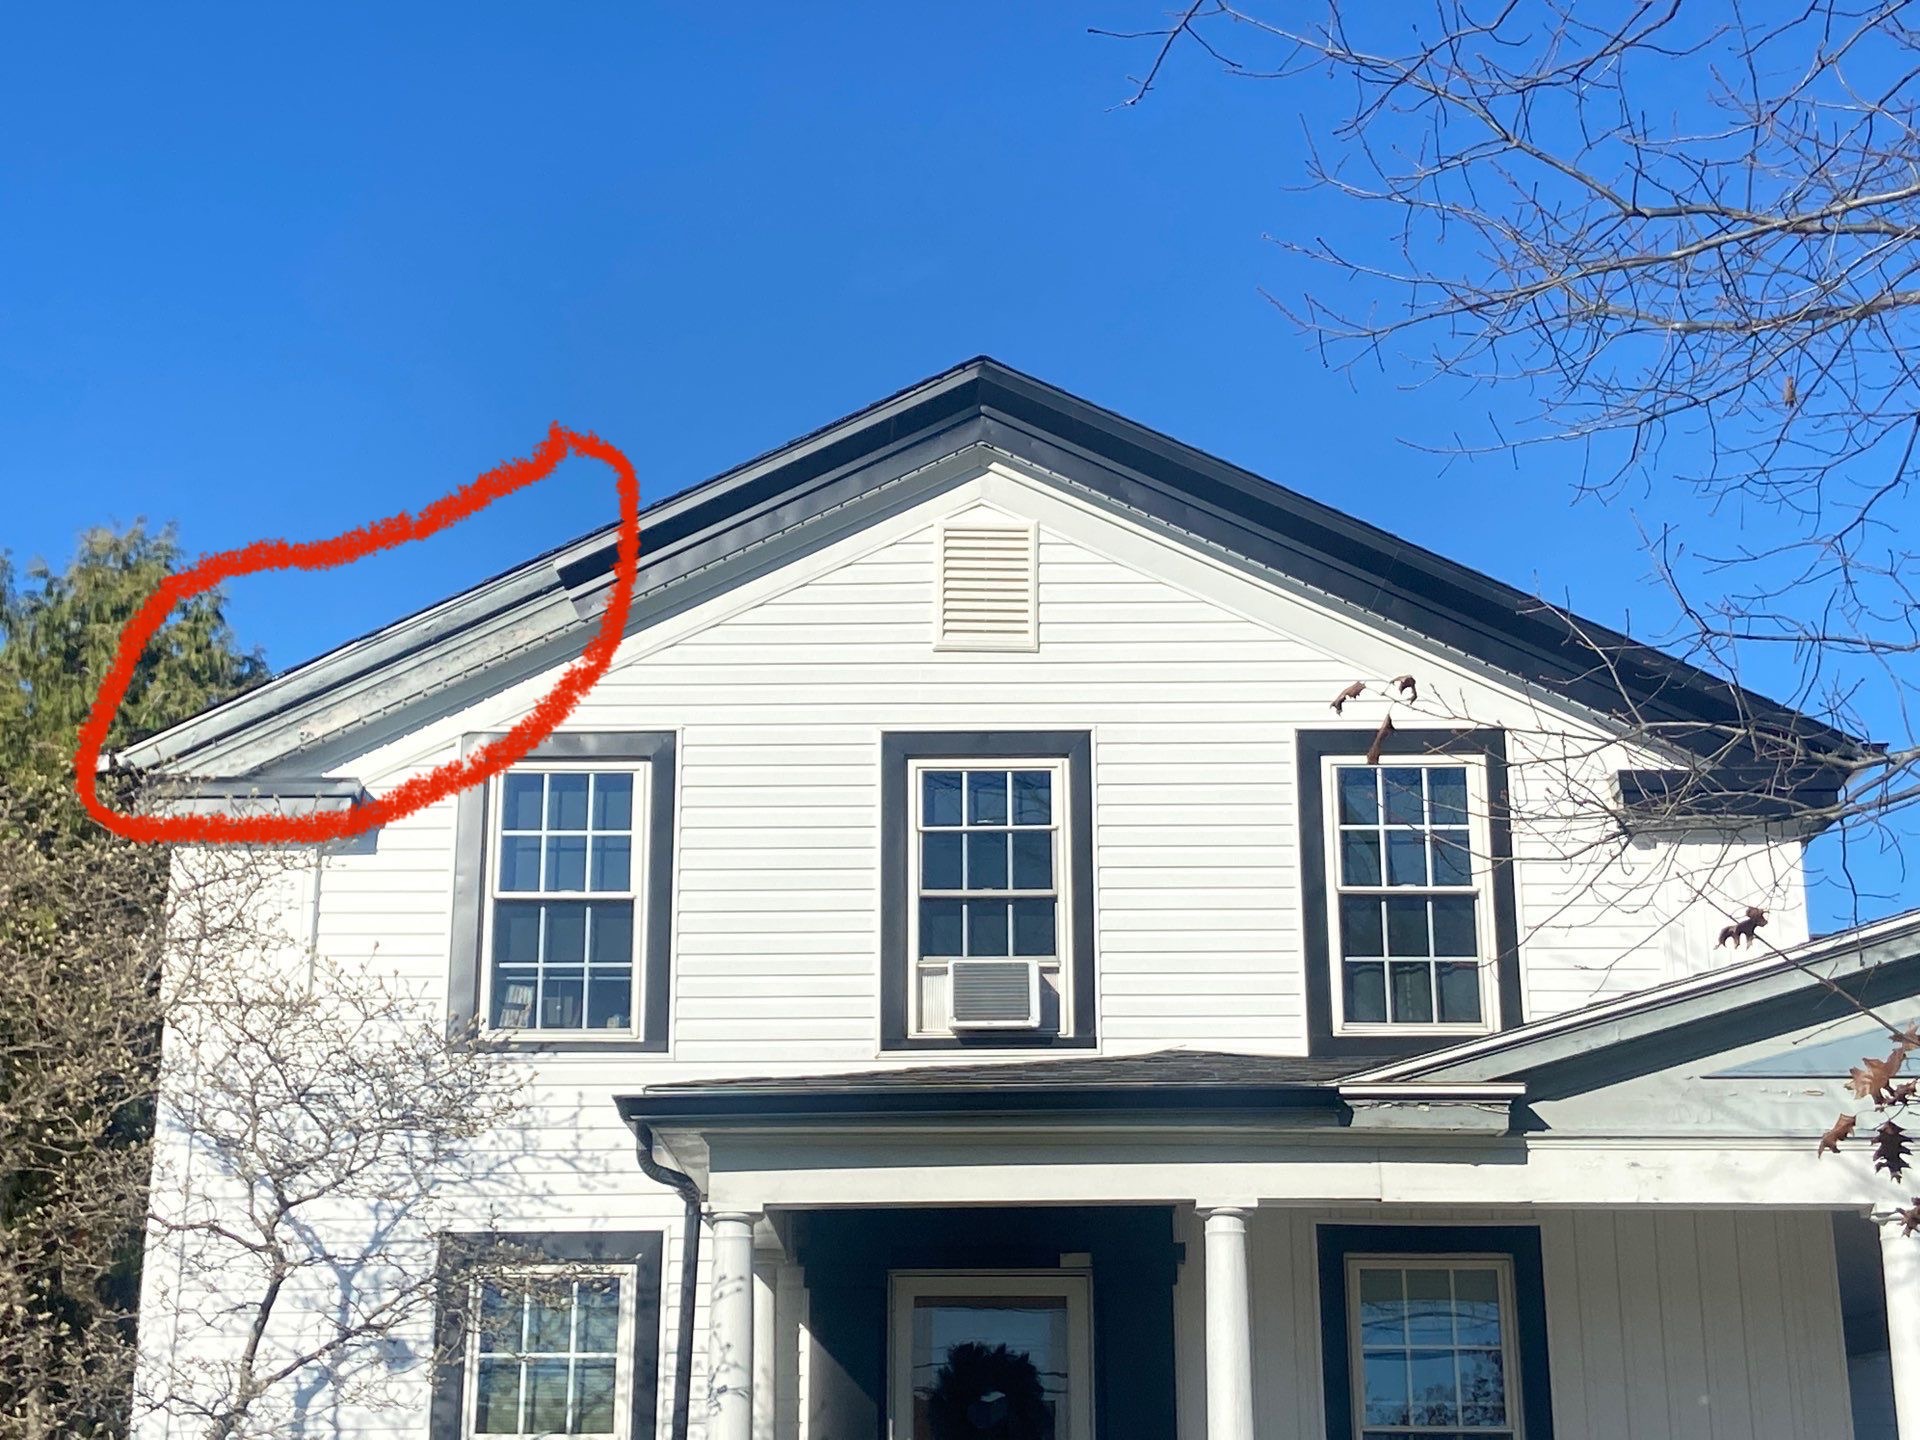
What is a Drip Edge?
A drip edge is a metal flashing installed along the eaves of your roof. It diverts water runoff away from the fascia board, preventing it from rotting and ensuring the longevity of your roof. Learn how to install drip edge in our comprehensive guide.
Why Install Drip Edge on Your Roof?
If you’re considering installing a drip edge on your roof, consider the following five benefits of having a drip edge:
- Protect Fascia and Structural Integrity: Drip edge channels water away, preventing water from rotting the fascia board (the flat board under the eaves) and potentially seeping into the roof structure.
- Prevent Wind Damage: The drip edge flange that goes under the shingles helps hold them down, which is especially crucial in high winds that could otherwise cause shingle blow-off.
- Improve Appearance: Drip edges provide a clean, finished look to the roofline. Without them, the exposed shingle edges can look uneven and rough.
- Increase Shingle Life: Water pooling under shingles can lead to rot and deterioration. Drip edges prevent this by directing water away, extending the shingle lifespan.
- Added Cost Efficiency: The upfront cost of installing drip edge is minimal compared to the potential cost of repairs or even a full roof replacement due to water damage or windblown shingles. The most cost-effective approach is to install drip edge when installing a new roof or during major roof repairs.
How to Install Drip Edge: Essential Tools and Materials
List of Required Tools to Install Drip Edge
To successfully install drip edge, you'll need the following tools and materials:
- Measuring tape
- Tin snips or aviation shears
- Hammer
- Roofing nails or roofing screws
- Ladder or scaffolding
Safety First
Here are some essential safety tips to keep in mind when installing drip edge:
- Always wear safety goggles and gloves to protect your eyes and hands.
- Ensure your ladder or scaffolding is stable and secure before climbing.
- Double-check the availability and condition of all tools and materials to avoid interruptions during the installation.
- Review the manufacturer's instructions to familiarize yourself with any special installation requirements or recommendations.
The best way to ensure safety is to hire a professional roofing contractor to get the job done. Find roofing professionals near you on Directorii.
Choosing the Right Drip Edge Material for Your Roof
Selecting the right drip edge material is important for the longevity of your roof. Common materials include aluminum, galvanized steel, and PVC. Choose a drip edge that suits your roof type and climate. For instance, aluminum is lightweight and resistant to rust, making it ideal for various climates, while galvanized steel offers enhanced durability.
How to Install Drip Edge on Your Roof in 3 Steps
1. Slide and Secure
- Slide the drip edge under the existing roofing material (if applicable).
- Maintain a slight gap between the drip edge and the fascia board by sliding it out slightly. This gap allows for proper water flow and ventilation.
- Secure the drip edge using roofing nails. Space the nails approximately 16 inches apart and center them on the drip edge for a flat installation.
2. Shingle Starter Course
- Once the drip edge is secure, install the starter course shingles.
- These shingles are the first row of shingles laid along the eaves.
- Overlap the starter course shingles slightly over the drip edge, ensuring the shingle's adhesive underside makes proper contact with the roof deck.
3. Step Flashing
- As you continue shingling the roof, consider incorporating step-flashing pieces.
- These are additional pieces of flashing material that extend up under the roofing material at various points along the roof, such as around chimneys or valleys.
- Step flashing provides added protection against water infiltration and is highly recommended for areas with heavy rainfall or snow.
By following these steps, you'll create a watertight seal between the roof deck and the fascia board. This ensures proper water flow off your roof, protecting your fascia board from rot and extending the overall lifespan of your roof.
Key Mistakes to Avoid When Installing Drip Edge
Here are some common mistakes to avoid when installing drip edge and tips to prevent them:
- Placing the drip edge flush with the fascia board: This allows water to seep under the drip edge and damage the fascia board.
- Nailing the drip edge on top of the shingles: This creates a dam effect, causing water to pool behind the drip edge.
Maintenance of Drip Edge
Regular maintenance and inspections are necessary to ensure the longevity and effectiveness of your drip edge. Periodically check for any signs of wear and tear, such as rust or loose nails. Pay special attention to the corners of the roof where the drip edge meets, as these areas are more prone to damage.
During your inspections, look for common issues like gaps between the drip edge and the roof deck, or any sections that may have come loose.
These problems can lead to water leakage and should be addressed immediately to maintain a watertight and resilient roof.
Keep Your Drip Edge in Top Shape: Maintenance Best Practices
- Clean the drip edge regularly to remove debris and prevent rust.
- Re-secure any loose sections promptly to avoid further damage.
- In cases of heavy salt exposure or extremely acidic rain, consult a roofing professional to determine if applying a protective coating is necessary.
By sticking to these guidelines, you’ll know how to install drip edge and ensure that it continues to protect your roof effectively.
Find a Professional Roofer to Install Drip Edge through Directorii
For the most seamless drip edge installation process for your roof, find a roofing professional near you on Directorii. We list only pre-screened contractors with a minimum 4.5-star rating, who are licensed and certified. They will inspect your roof and install the drip edge that suits your roof the best. Just enter your zip code and start browsing today!